Polski
 English
 Italiano
 Español
 Čeština
 Српски
 Deutsch
 Ελληνικά
 Slovenský

Application
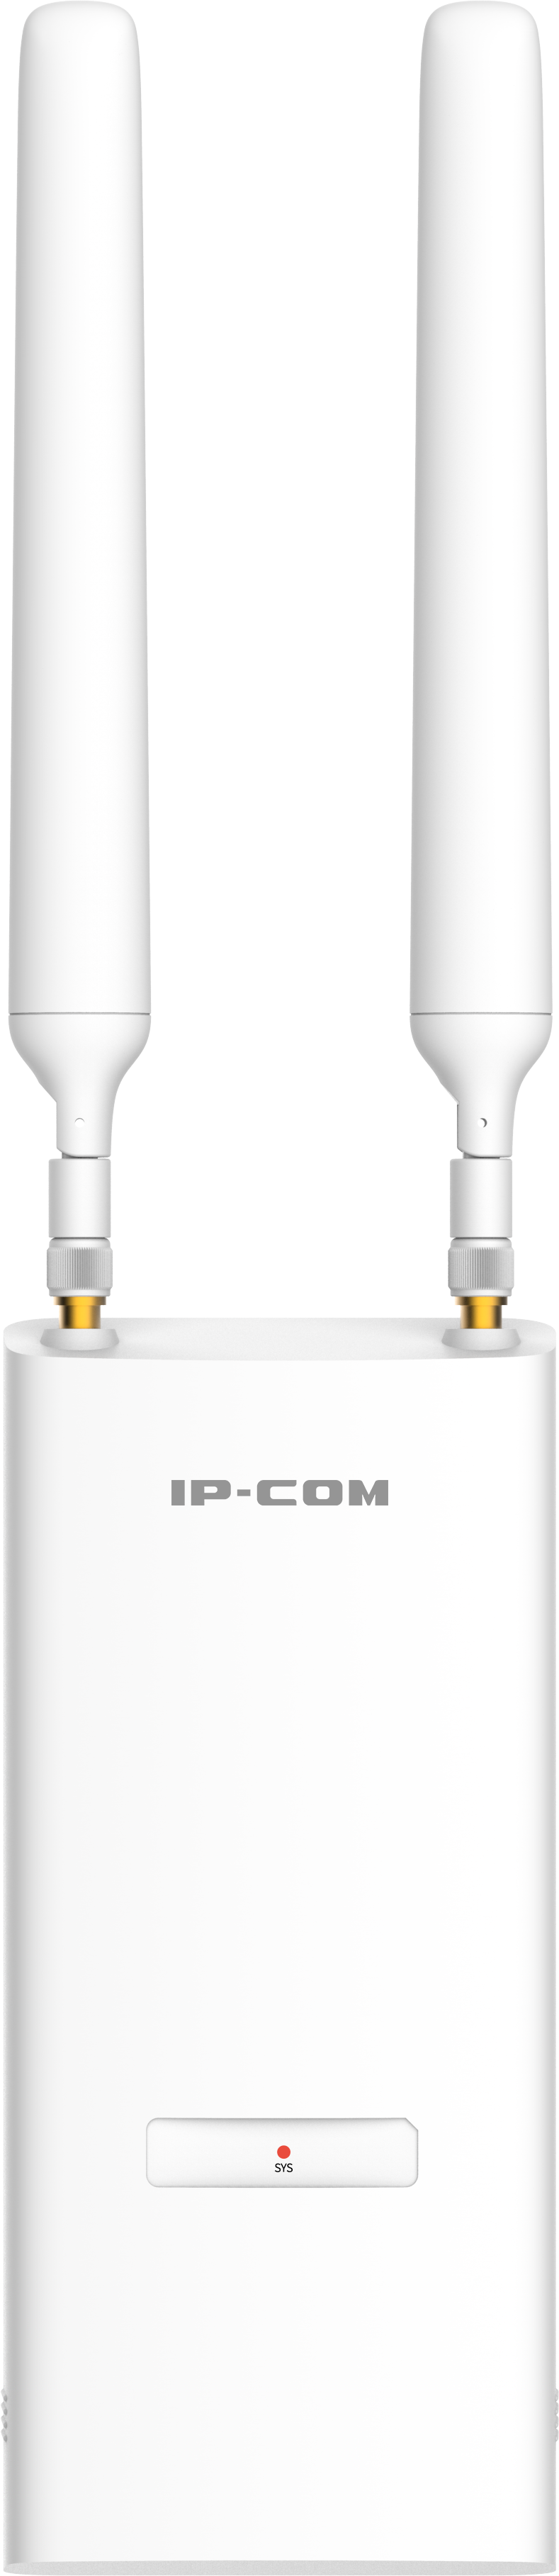
ProFi Software Controller is a free software prepared by the manufacturer IP-COM to manage devices from the ProFi series. Currently they are:


Download
The latest version of the software is available on the manufacturer's website
Installation
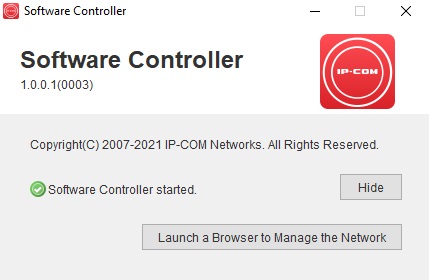
The software installation process is the same as for most applications. After installing it, run it. We wait a while, after the "Launch a browse to manage the network" button is activated, the software is ready.
First launch and configuration
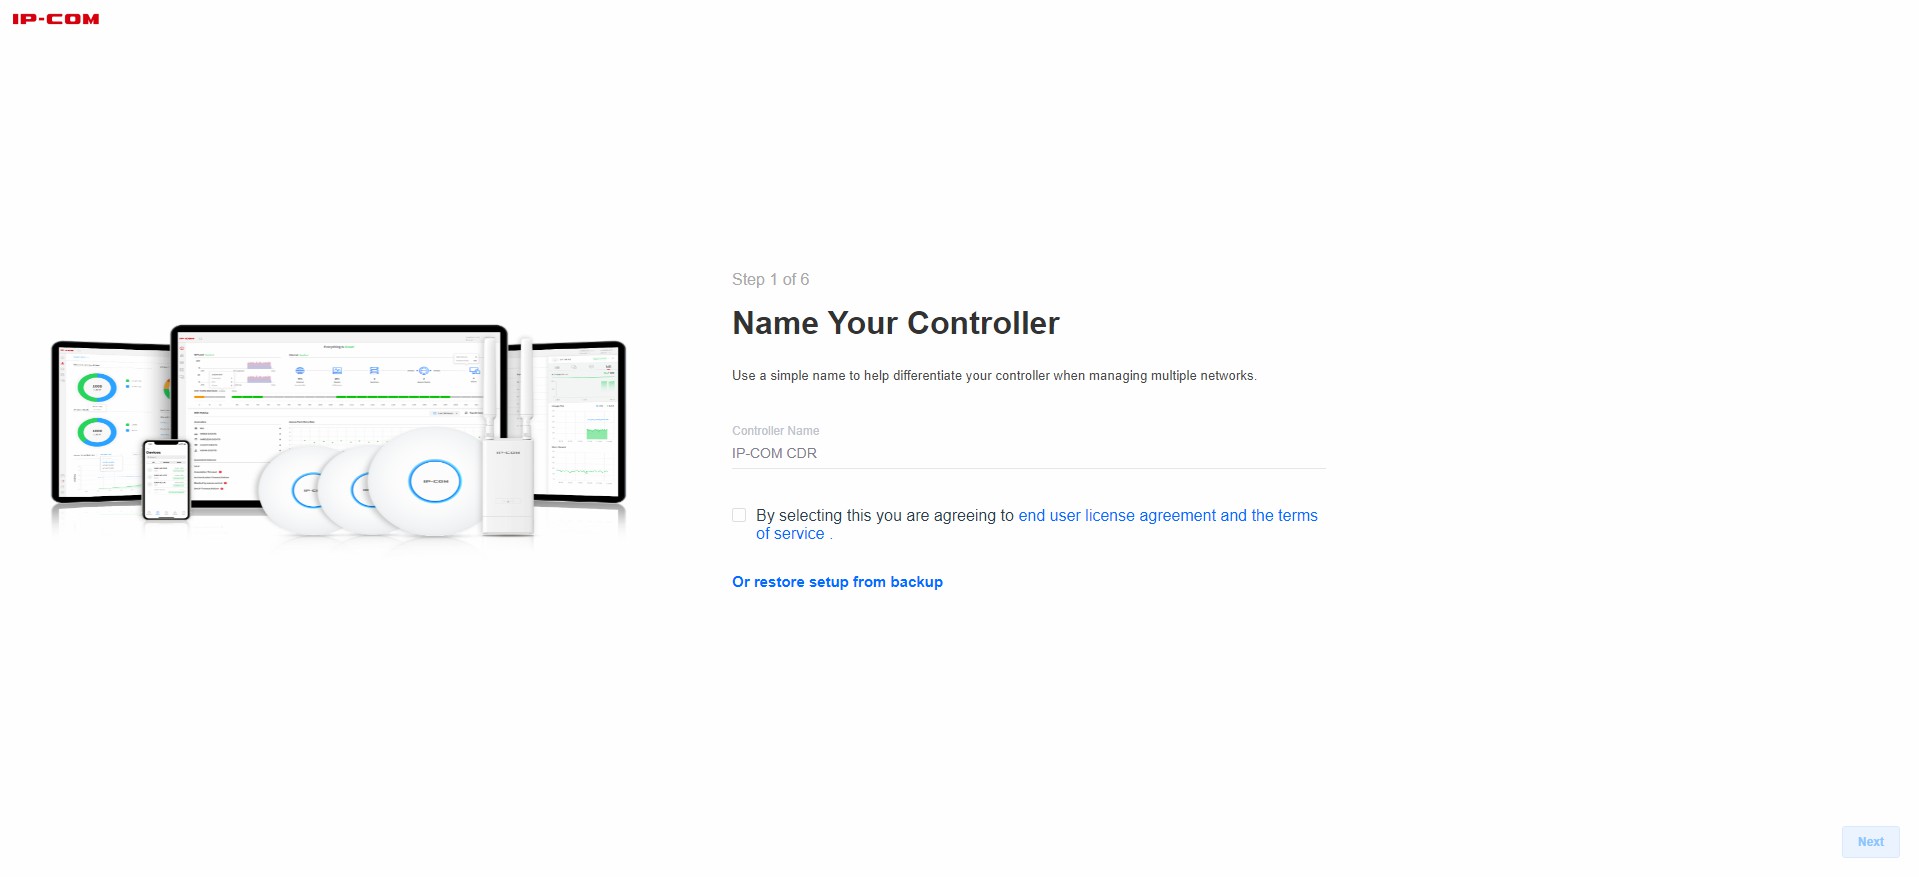
After clicking the button, the browser with the controller configurator will start. At first we need to provide the name of our controller, we must accept the terms of use of the application to proceed.
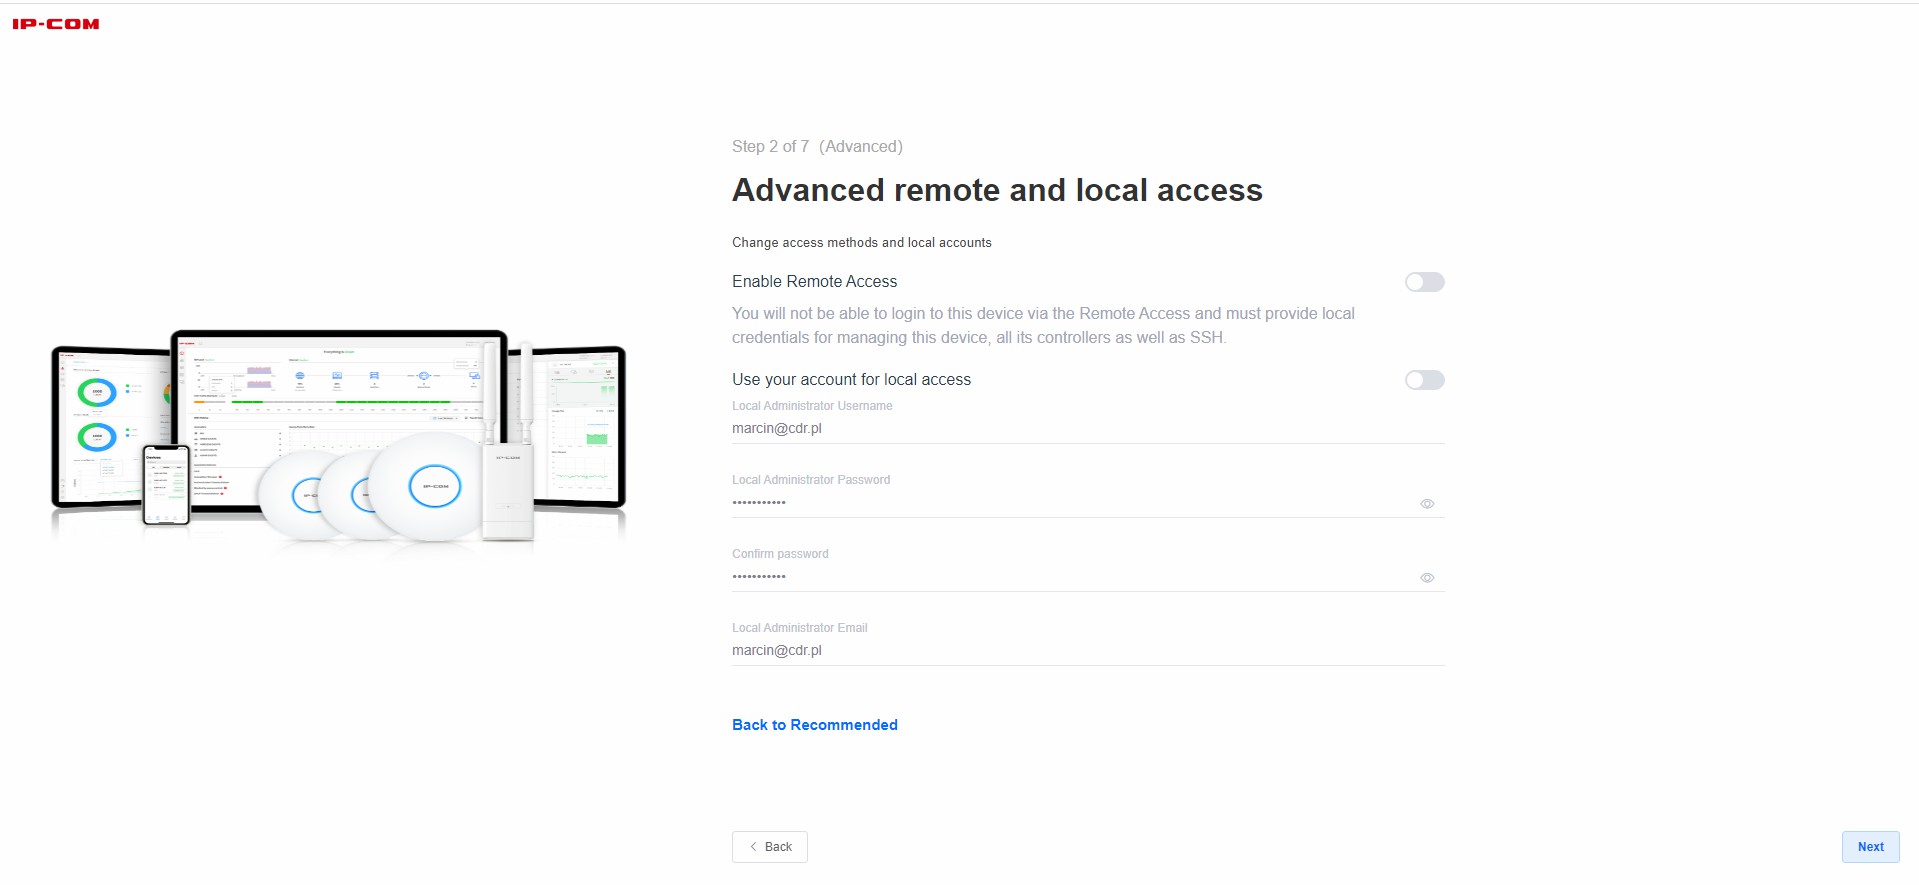
In advanced options, we can disable the remote management of the controller and create a local administrator account, independent of the account in the manufacturer's system.
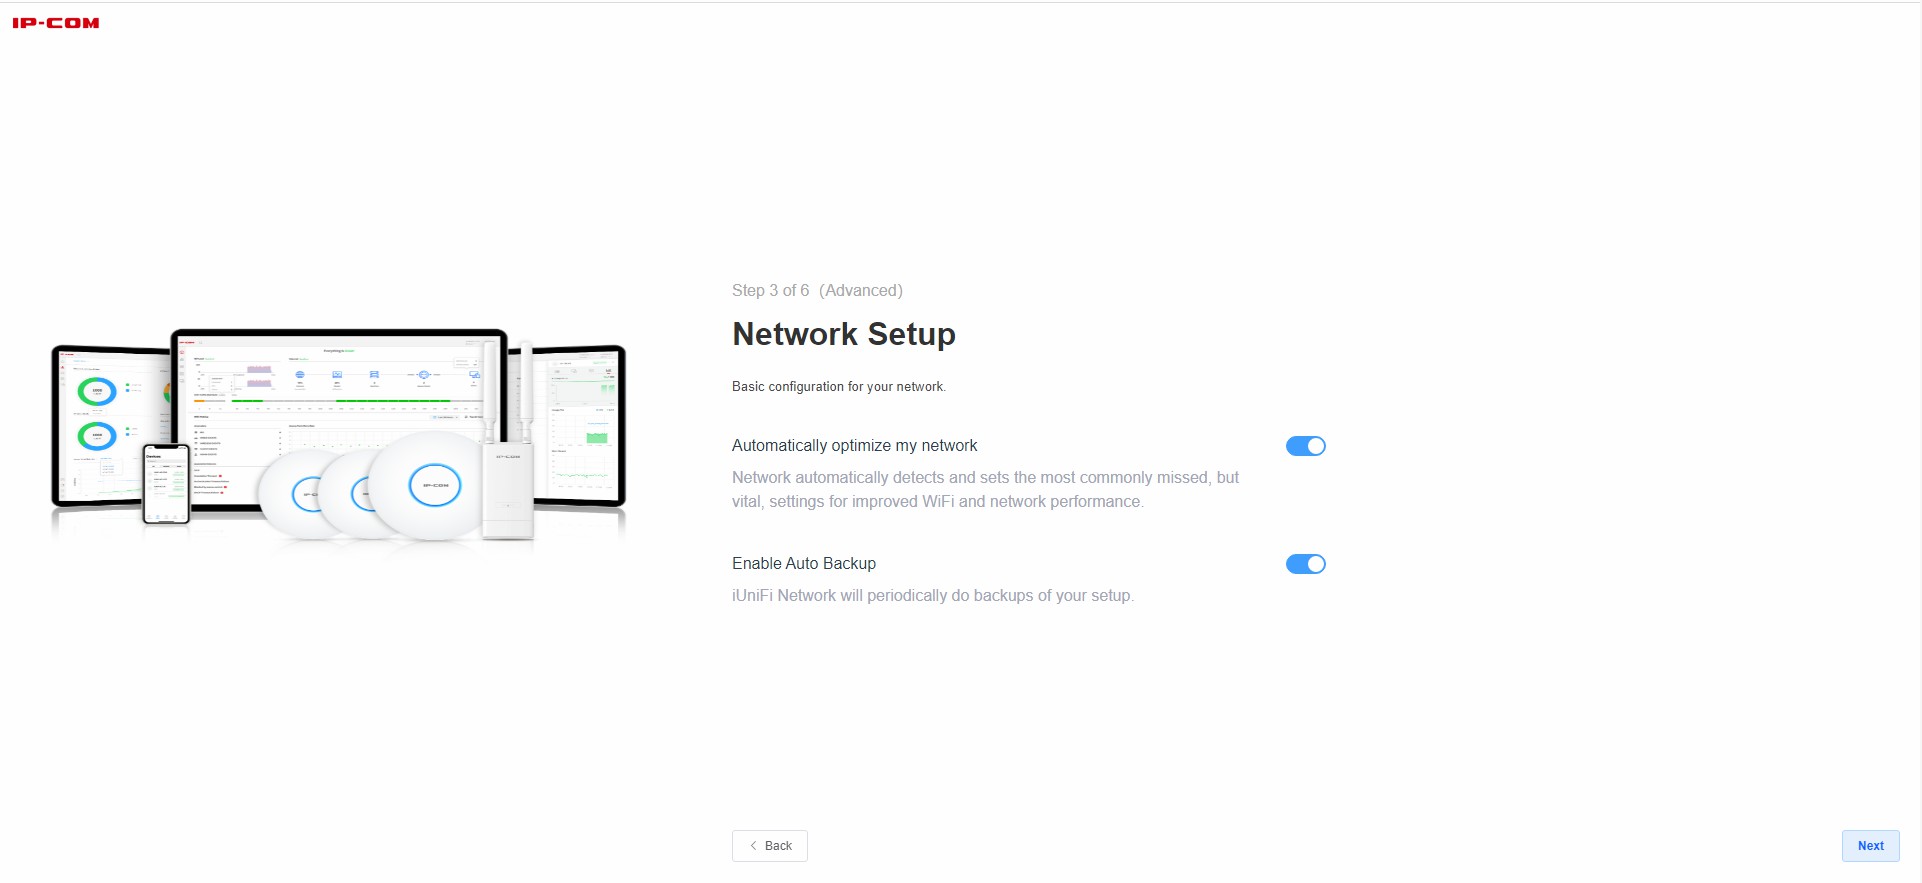
Then the configurator asks us if we want our wireless network settings to automatically adapt to the needs of users and whether we want to automatically backup the device's database and their settings.
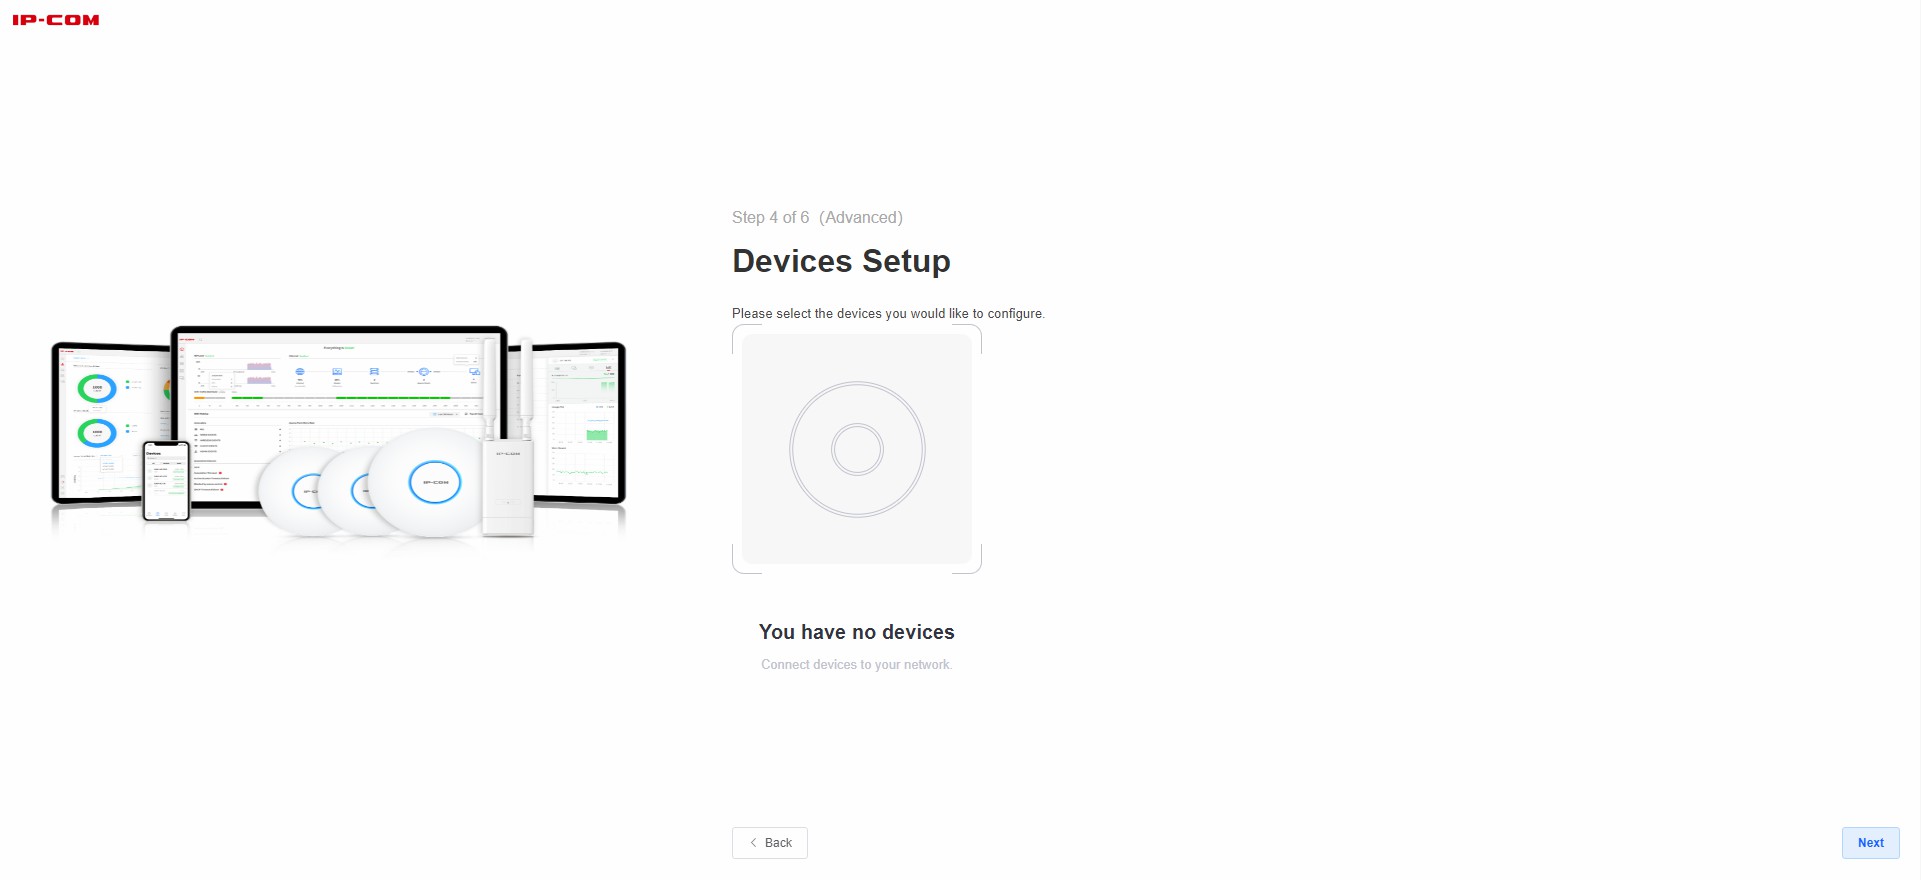
In this step, devices connected to the network should be detected, we can immediately add them to the controller. We skip this step now - we will do it later.
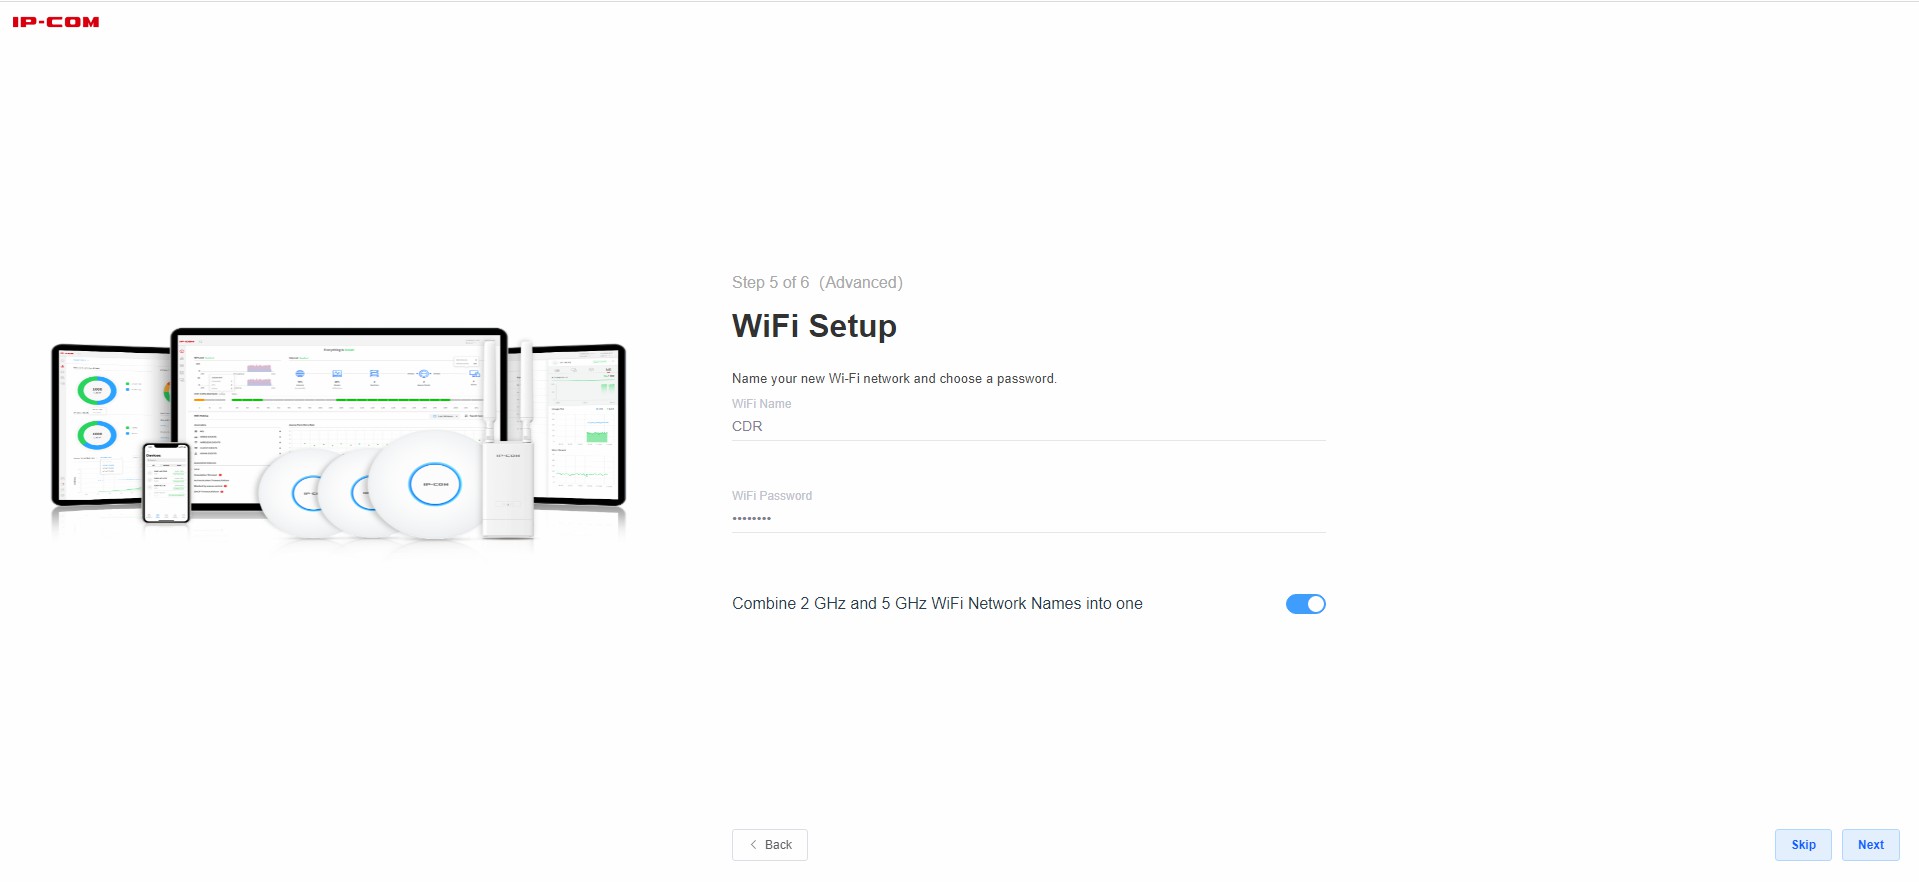
We set the SSID name and password for our WiFi network, we can choose whether the 2.4 GHz and 5 GHz network should be available under one name or with two different names.
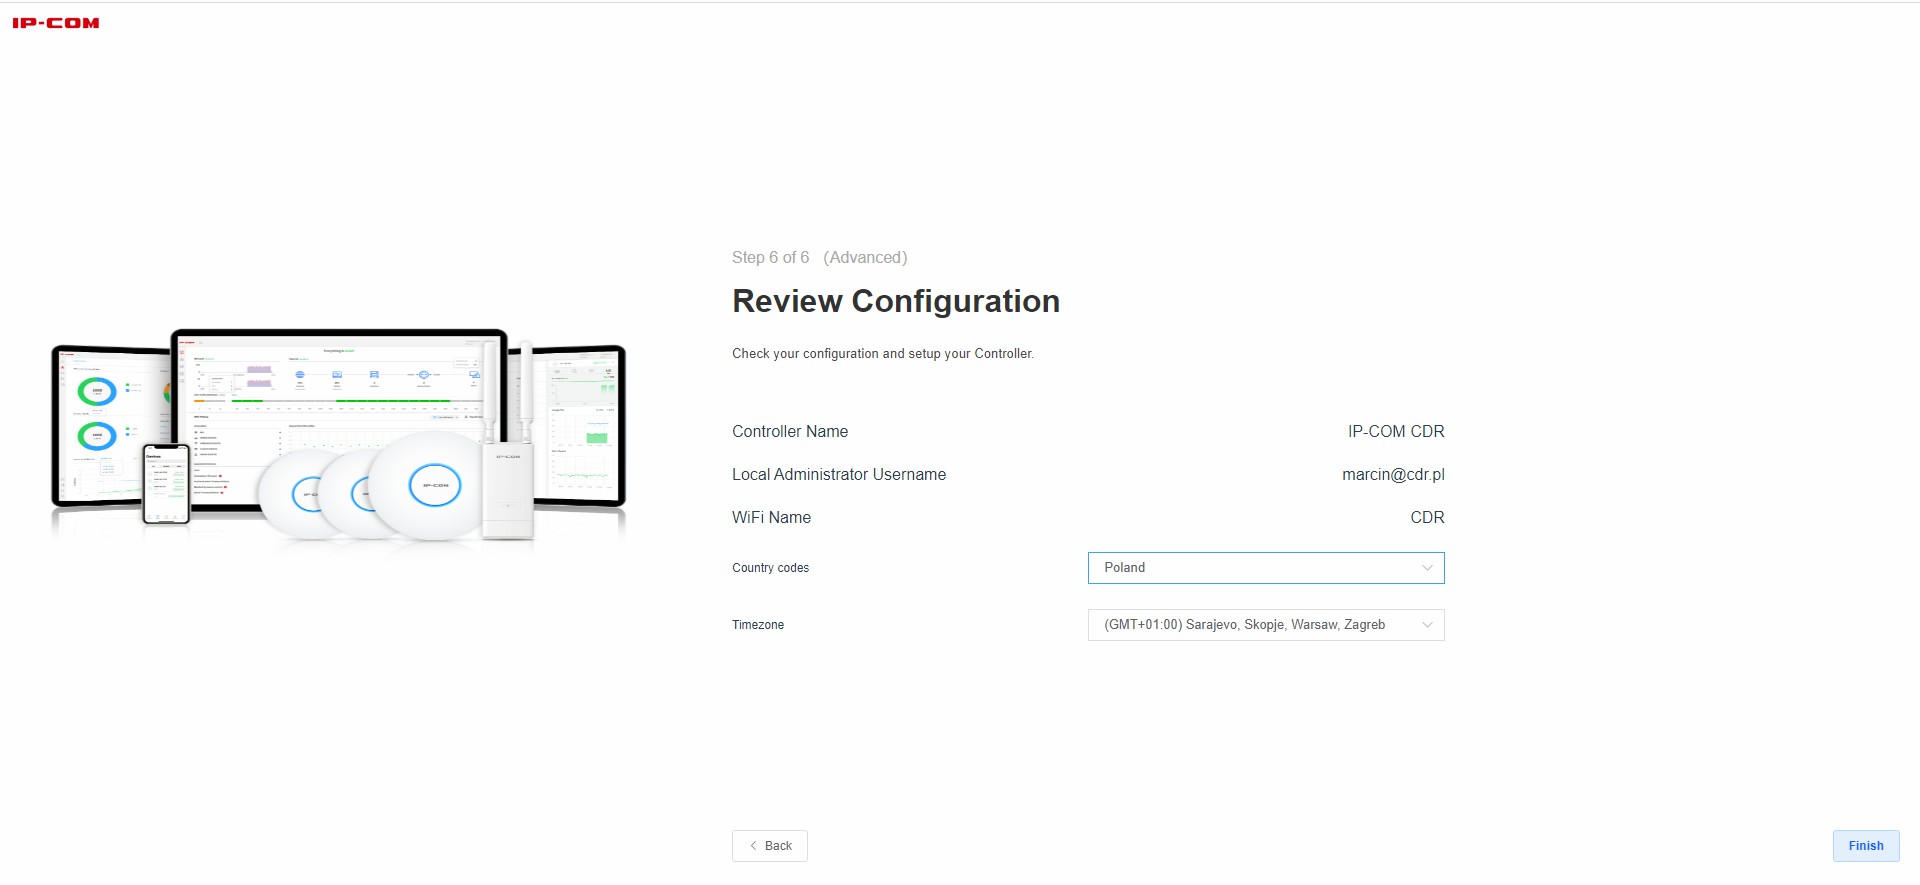
We choose our time zone and verify the correctness of the previously entered settings. Later, if necessary, you can easily change them
We were redirected to the login screen. We log in using our IP-COM account or the previously created local administrator account.

Adding devices
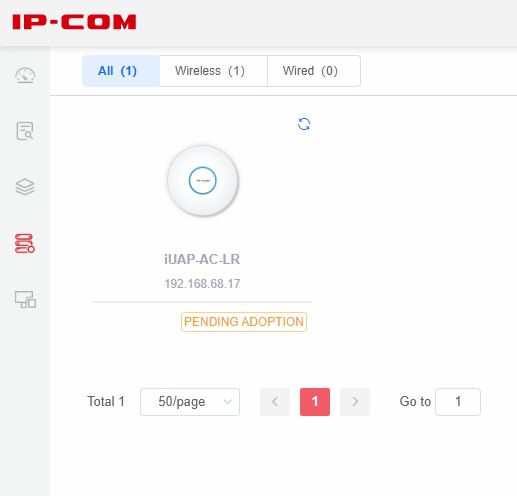
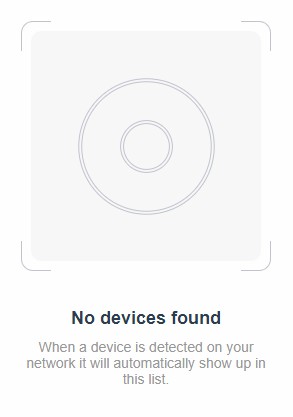
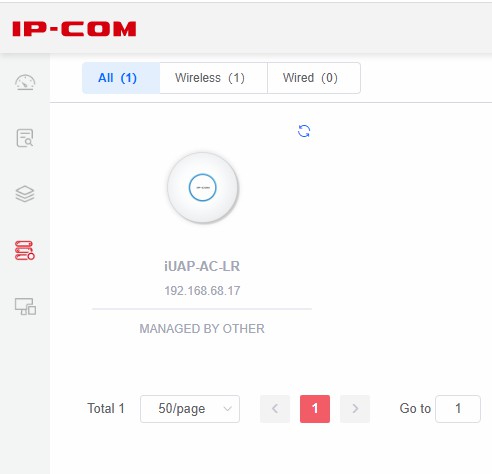
Currently, our admin panel and statistics are empty. There is no information in them, so we're going to add the first device. We go to the Devices tab. I connected a test device, it was detected with the status Pending Adoption
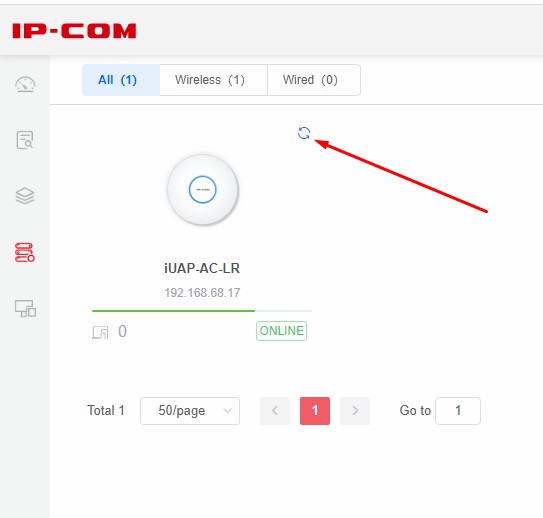
Click on the thumbnail, the device management panel will pop up. Click the plus button to add an access point to our network

After a while, the device will synchronize and become Online. If an update is available, the refresh/update icon will be displayed in the upper right corner. After clicking on it, the device will ask us to confirm the software update. If we agree, the update process will start and the device will be restarted.
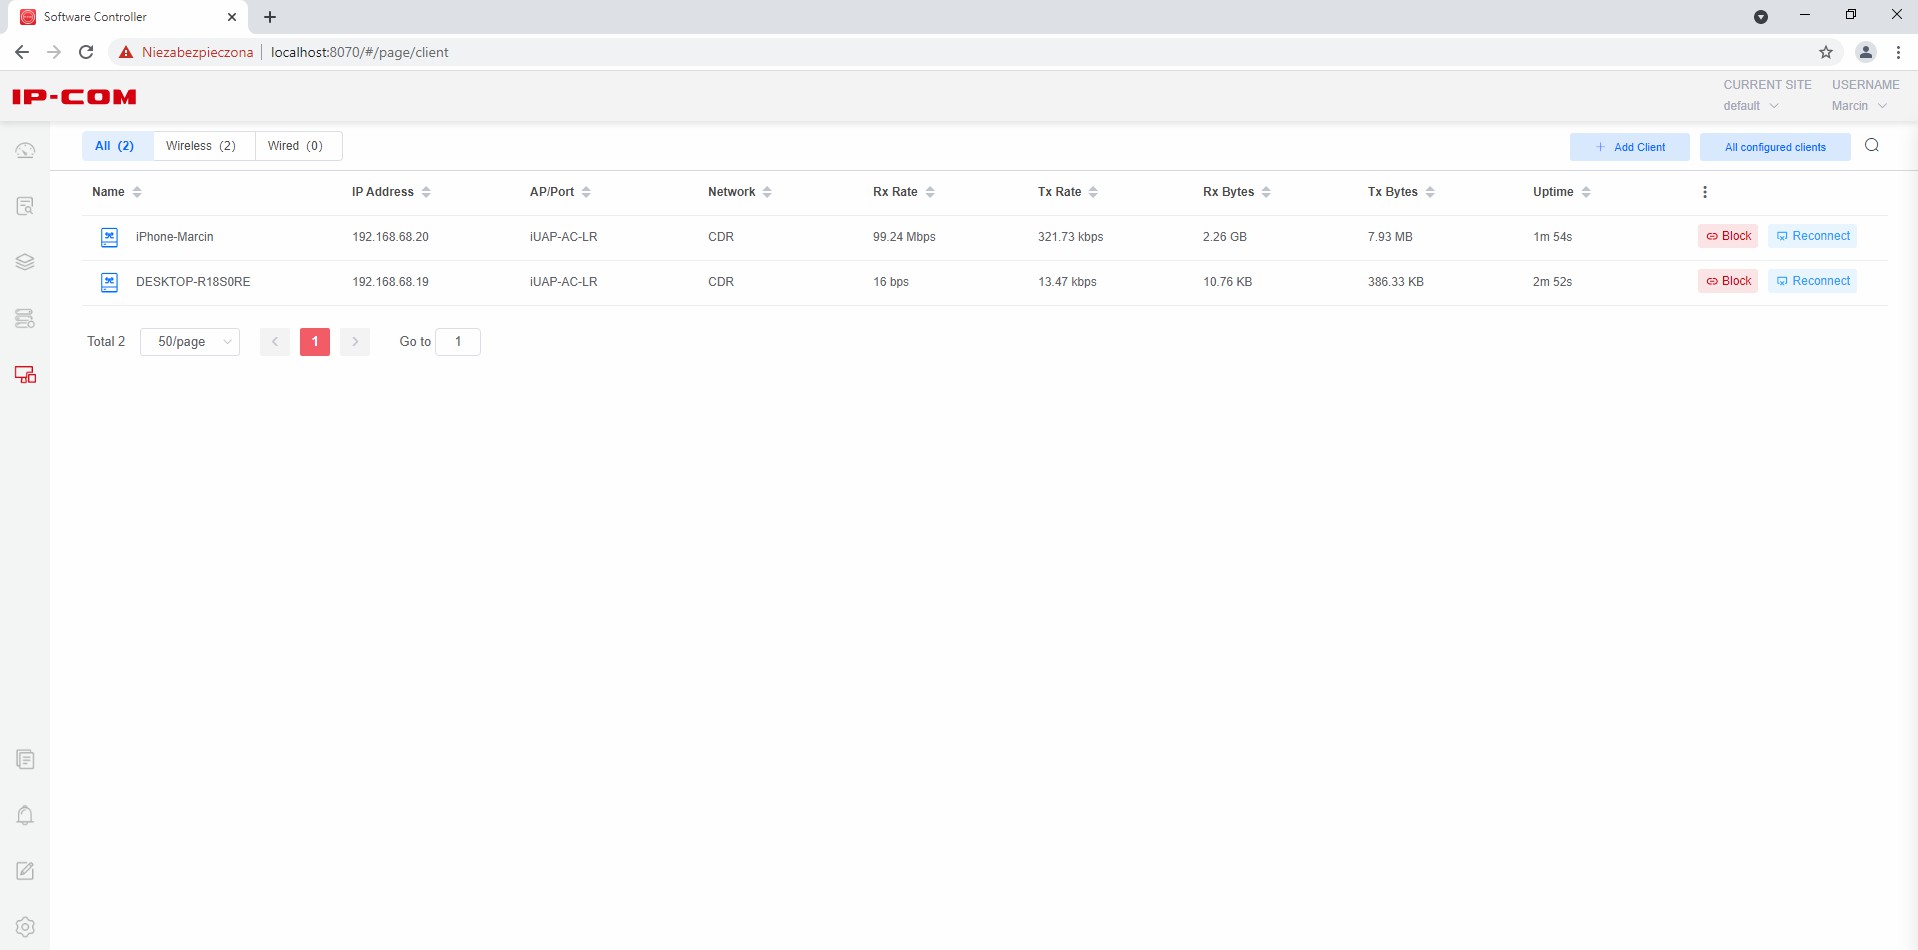
We can now look at the statistics of the device or devices connected to our network. You will see the status and condition of the device:
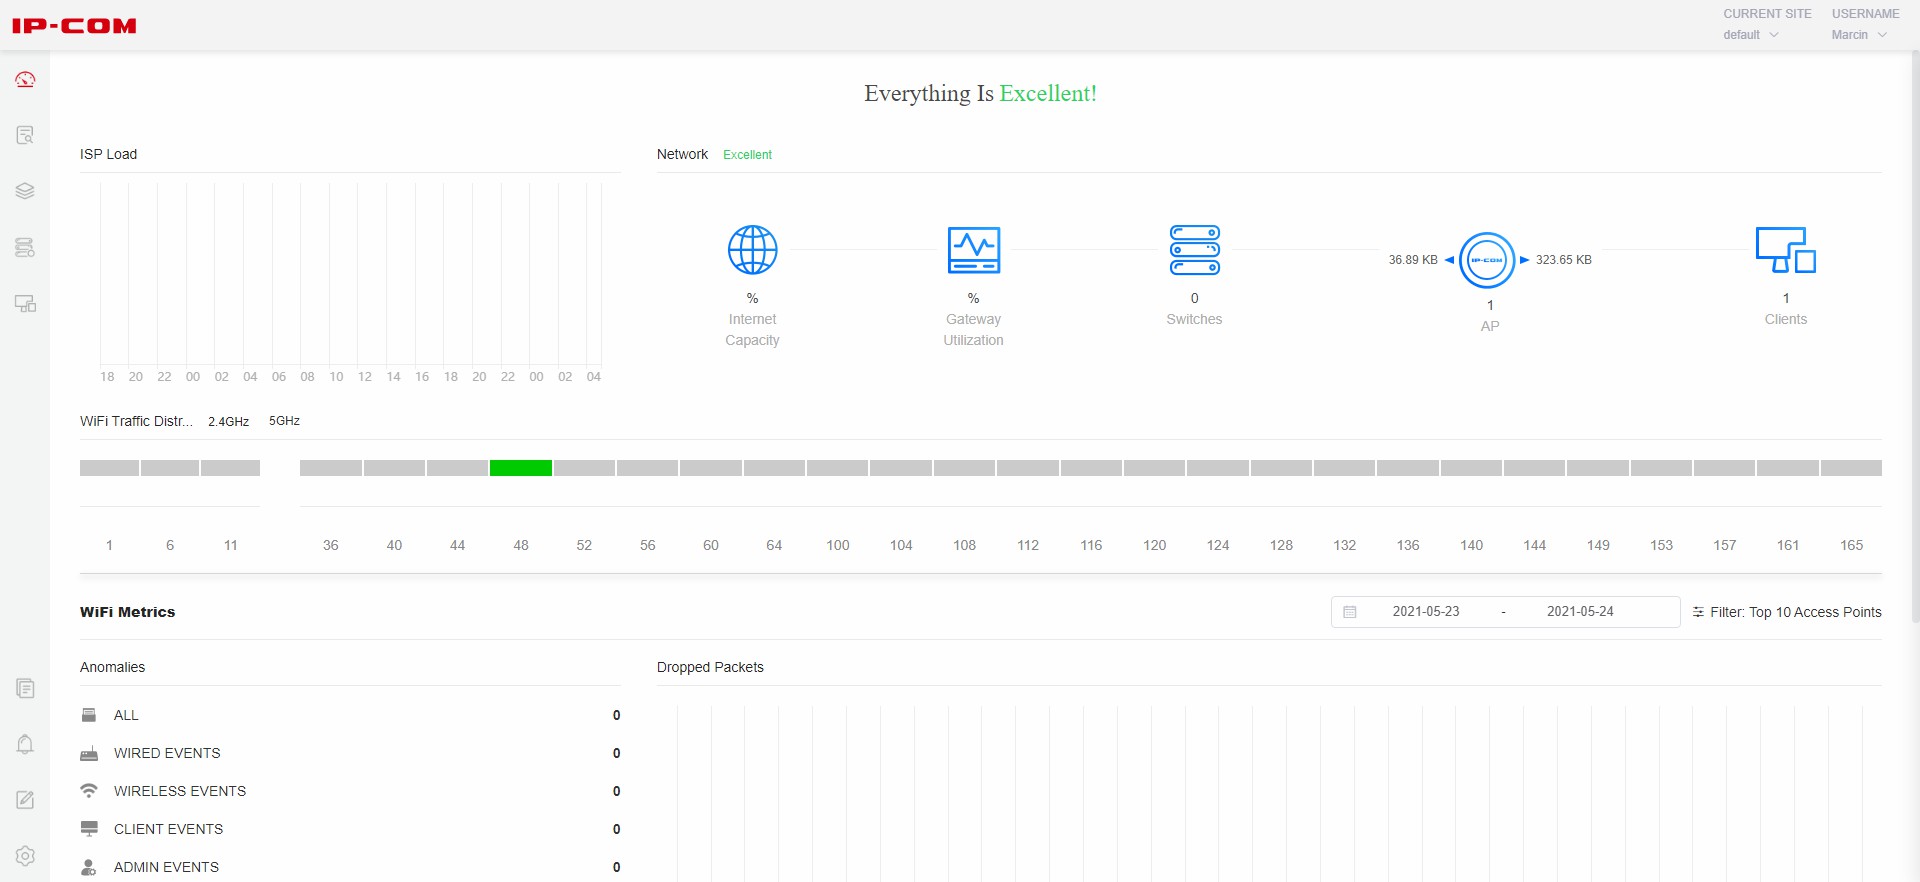
Network transfer:
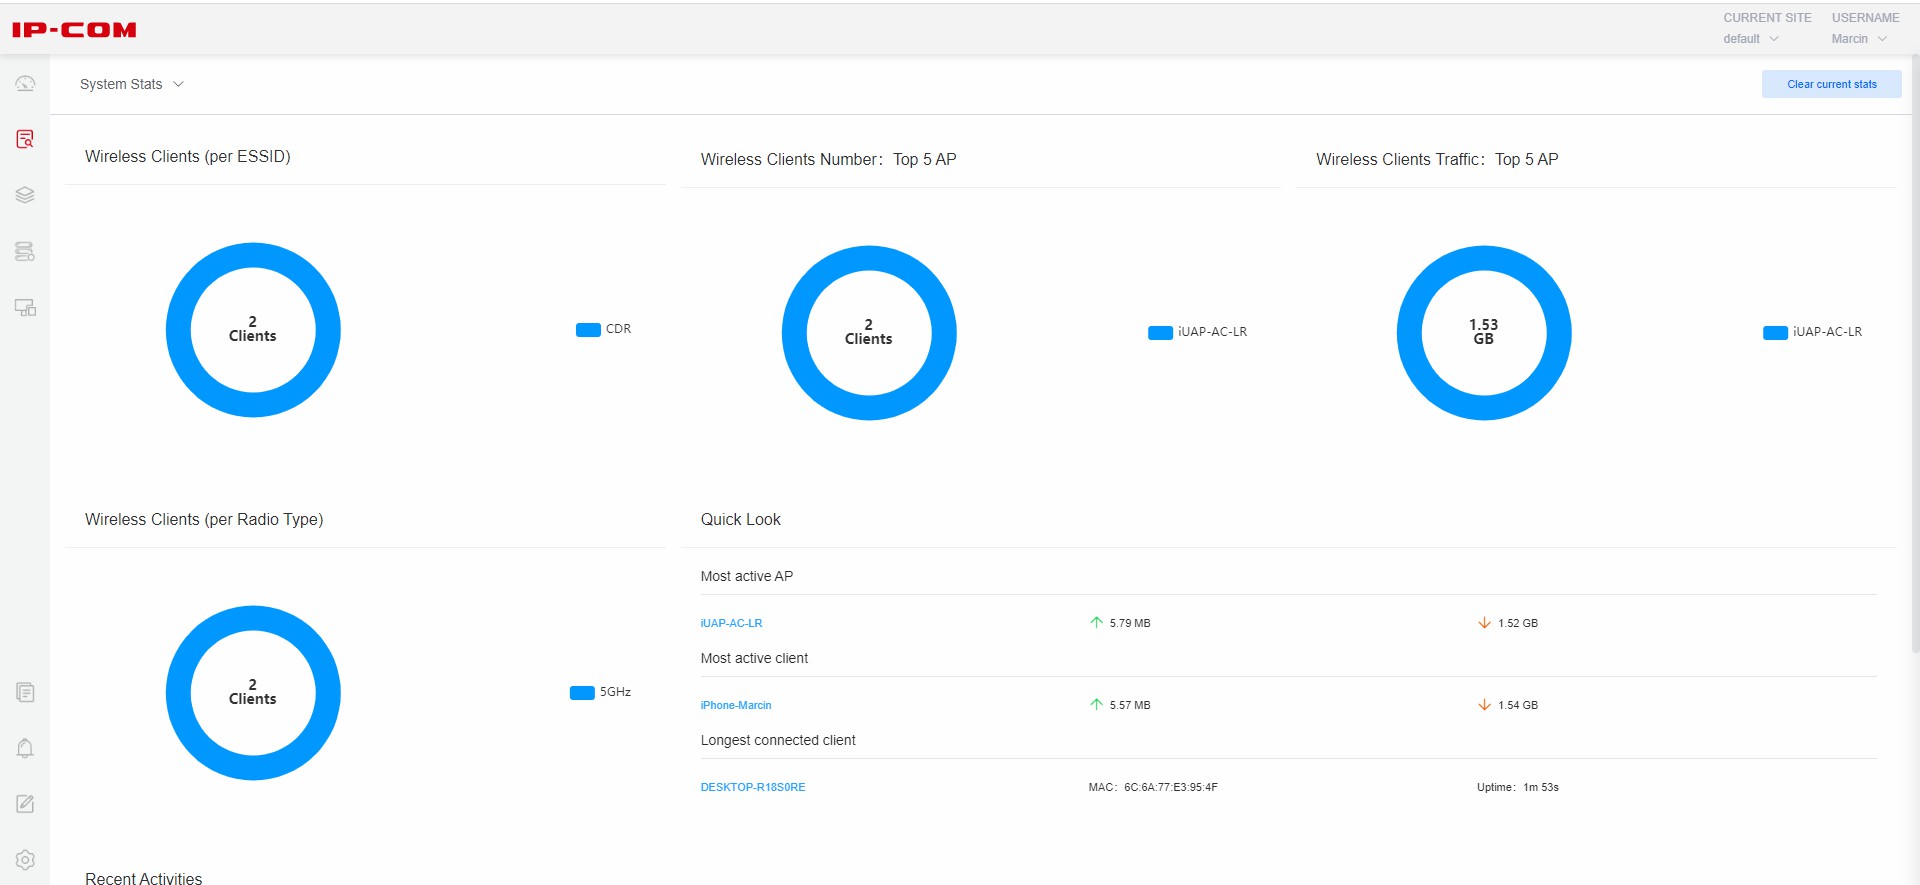
And the number of client devices connected to the network:
Most common problems
If the controller does not detect the device, make sure that the device has the minimum software version V1.0.0.1 (V6448) installed. In the case of an older version, download the latest software from the manufacturer's website and update it. The default IP address of the device is on the label on the bottom of the device. We update via the web interface
It may happen that a device has been previously added to another controller and we need to add it to a new one in a different location. We have two options:
- The first is to restore the device to its factory settings using the reset button on the case.
- In the second one, we add such a device to the controller, but when adding it, it will require us to enter the administrator's login and password from the previous controller.
Devices Map
In the software from the manufacturer, we have a dedicated section for creating maps for the location of devices in the building. The process of creating a map is very simple and intuitive, we add a new level, upload a photo, e.g. a view of the ground floor from above, and then mark the devices available in the controller on the map.